


Price: $3.66
(as of Apr 05, 2025 09:04:48 UTC - Details)
The Best Way to Apply Press-On Nails: A Comprehensive Guide
Introduction
Are you tired of expensive salon visits and long hours spent on manicures? Press-on nails are a fantastic solution for anyone looking to achieve beautiful, salon-quality nails at home. In this article, we will explore the best way to apply press-on nails, offering tips and tricks to help you achieve a flawless look. We’ll also dive into various aspects of press-on nails, including preparation, application, and maintenance. Whether you’re a seasoned pro or a complete beginner, you’ll find valuable insights that can enhance your nail game.
Understanding Press-On Nails
What Are Press-On Nails?
Press-on nails are artificial nails that can be easily applied and removed without the need for professional assistance. They come in various styles, shapes, and sizes, making them a versatile choice for anyone who wants to change their nail look frequently. Unlike traditional acrylics or gels, press-on nails are designed for convenience and can be applied in just a few minutes.
Benefits of Using Press-On Nails
One of the main advantages of press-on nails is their affordability. They are much cheaper than salon treatments, allowing you to experiment with different styles without breaking the bank. Additionally, press-on nails are perfect for special occasions or last-minute plans. You can easily switch up your look to match your outfit or mood.
Step-by-Step Guide to Applying Press-On Nails
Step 1: Prepare Your Natural Nails
Before applying press-on nails, proper preparation is essential. Start by removing any old nail polish and gently pushing back your cuticles. Use a nail file to shape your natural nails, making sure they are smooth and even. Clean your nails with rubbing alcohol or a nail cleanser to remove any oils or dirt. This will help the press-on nails adhere better.
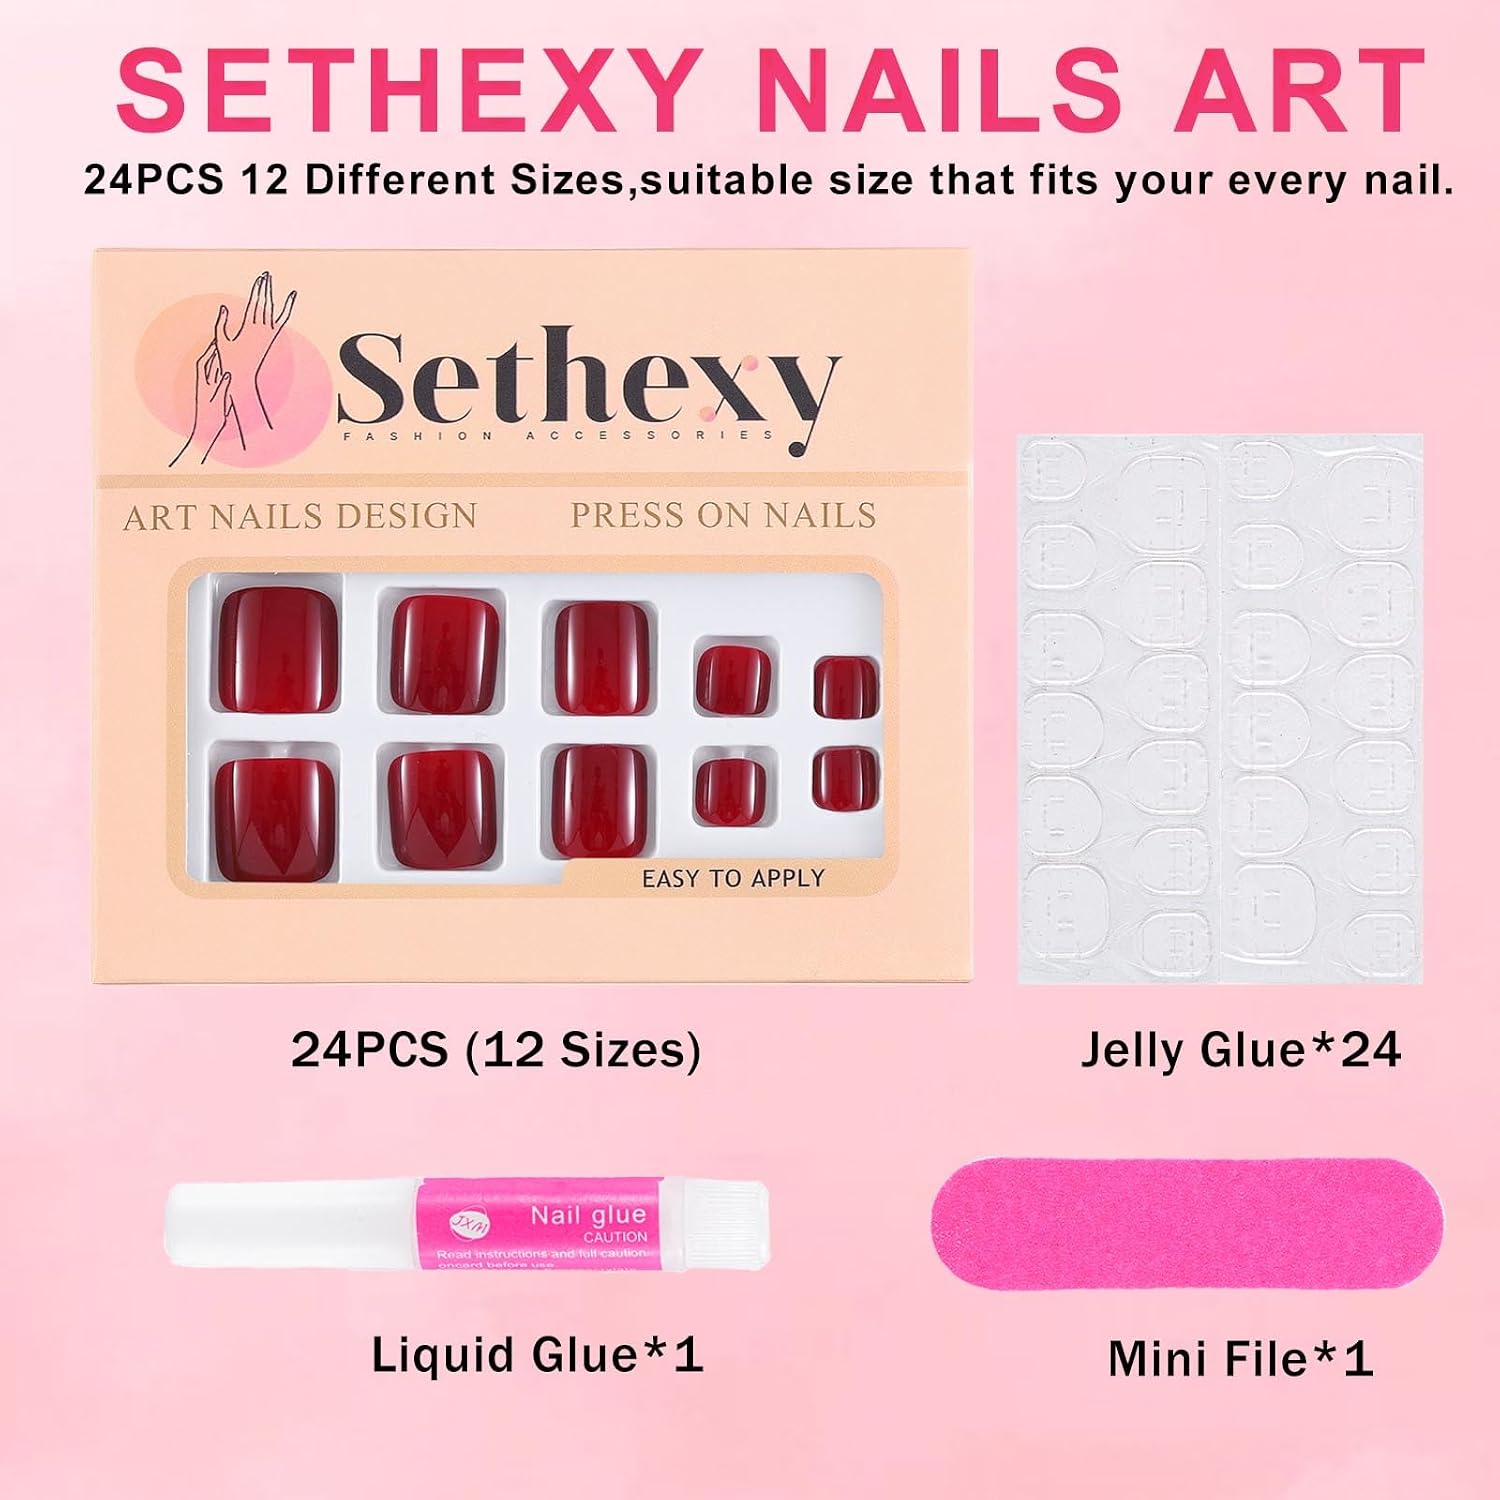
Step 2: Choose the Right Size
Choosing the right size of press-on nails is crucial for a seamless look. Most kits come with multiple sizes, so take your time to find the perfect fit for each finger. To do this, simply hold the press-on nail against your natural nail; it should cover the entire nail bed without overlapping onto your cuticles.
Step 3: Apply Adhesive
There are different types of adhesives available for press-on nails, including glue and double-sided tape. If you prefer a long-lasting hold, nail glue is the way to go. Apply a small amount of glue to the back of the press-on nail and your natural nail. If you opt for double-sided tape, place it on your natural nail before pressing the artificial nail down.
Step 4: Press and Hold
Once you've applied the adhesive, carefully position the press-on nail on your natural nail. Press down firmly and hold for about 10-15 seconds to ensure a strong bond. Repeat this process for each nail, taking care to avoid bubbles or gaps.
Maintenance Tips for Press-On Nails
How to Make Your Press-On Nails Last Longer
To maximize the longevity of your press-on nails, avoid exposing them to excessive moisture, such as prolonged soaking in water. Use gloves when doing dishes or cleaning to protect your nails. Additionally, try to avoid using your nails as tools, as this can cause them to lift or break.
How to Remove Press-On Nails Safely
When it’s time to remove your press-on nails, do so carefully to avoid damaging your natural nails. Soak your nails in warm, soapy water for a few minutes to loosen the adhesive. Gently lift the press-on nails from the sides using a wooden stick or a gentle nail tool. If they don’t come off easily, re-soak your nails until they do.
Troubleshooting Common Issues
What to Do If Your Press-On Nails Won't Stick
If you find that your press-on nails aren't sticking properly, it may be due to leftover oils on your natural nails. Make sure to clean your nails thoroughly before application. If you're using glue, ensure that you’re applying enough to create a strong bond. For a quick fix, you can also try using a different brand of adhesive.
How to Fix Lifting Press-On Nails
If your press-on nails start to lift after a few days, don’t panic. You can use a small amount of nail glue to reattach them. Gently lift the edge of the nail, apply a bit of glue, and press it back down. Hold for a few seconds to ensure it adheres well.
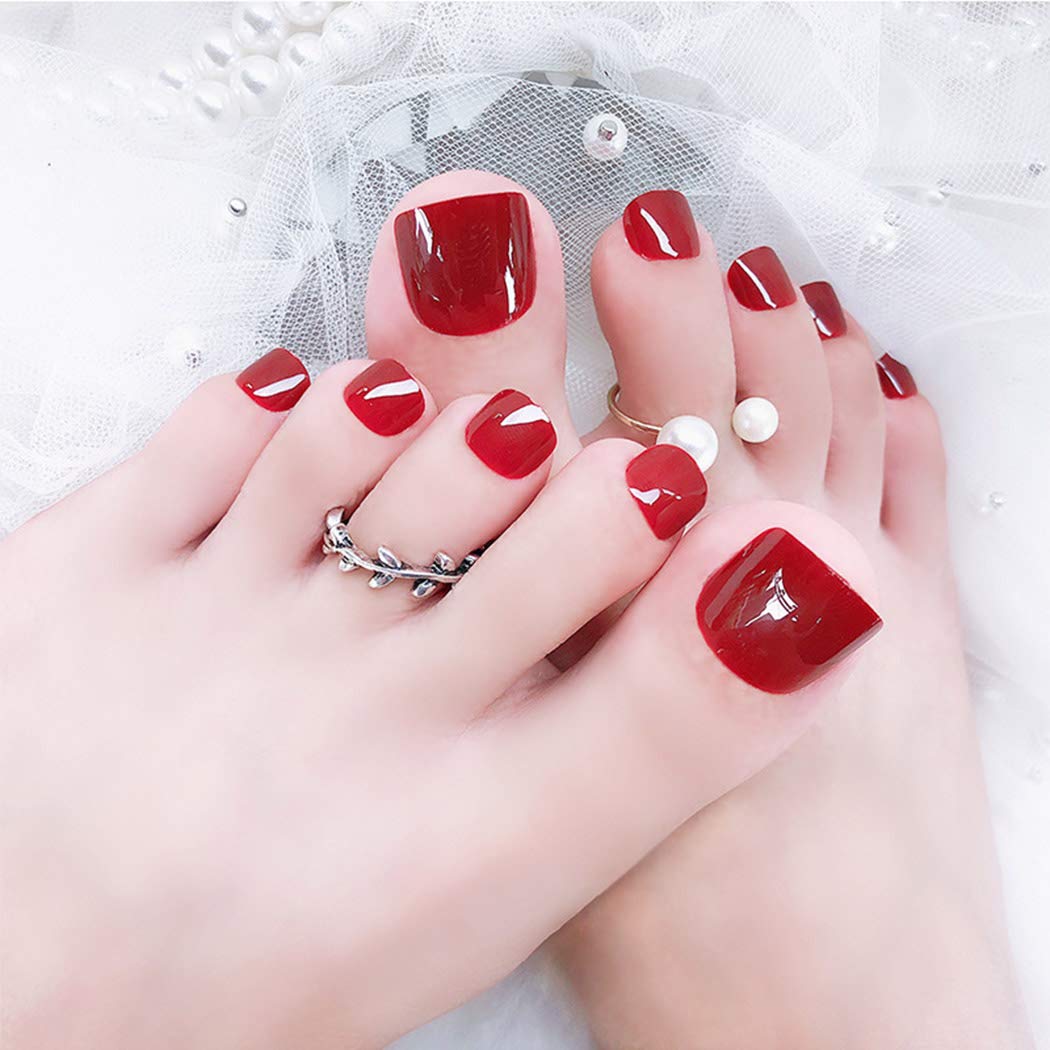
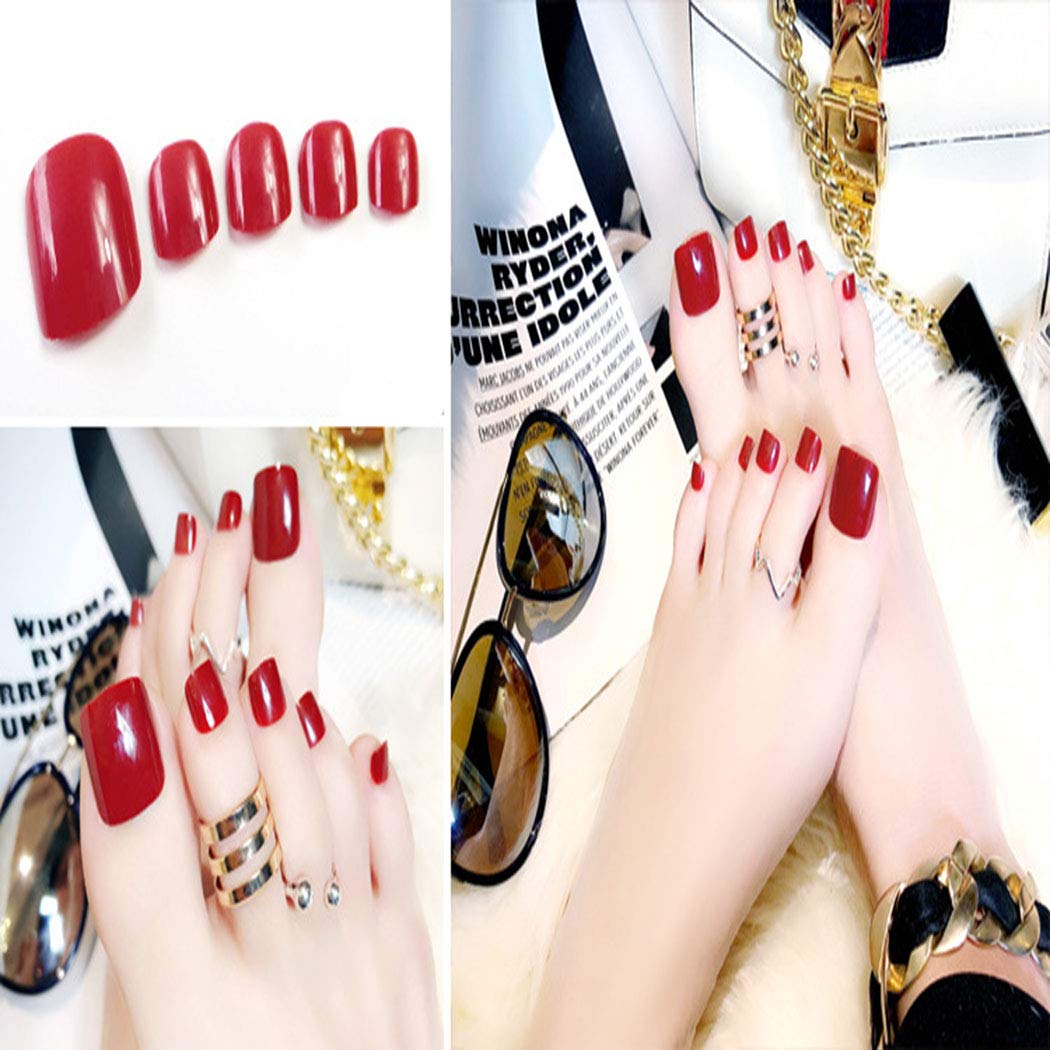
Exploring Different Styles of Press-On Nails
Seasonal Designs
Press-on nails come in a wide variety of designs, including seasonal themes. Whether you’re looking for spooky Halloween nails or festive Christmas designs, there’s something for everyone. These themed nails can be a fun way to showcase your personality during special times of the year.
Customizable Options
If you want a unique look, consider customizing your press-on nails. Some brands offer kits that allow you to paint or decorate the nails yourself. This way, you can let your creativity shine and create a look that’s entirely your own.
Conclusion
In conclusion, the best way to apply press-on nails involves proper preparation, careful sizing, and effective adhesive application. By following the steps outlined in this guide, you can enjoy beautiful nails without the hassle of salon visits. Remember to maintain your press-on nails and troubleshoot any issues that arise to ensure a long-lasting look. With the right techniques, press-on nails can be a fabulous addition to your beauty routine. So why wait? Grab your favorite set of press-on nails and get started today!
Different Size:Offer 12 Different Sizes,suitable size that fits your every finger
Multiple Application:As well as great for various occasions, like wedding, party or weekend dating
Convenient :Easy to apply and hold with nail sticker,easy to trim and file them in any length and shape you like
High Quality :Our nails are made with ABS material,No toxic,No smell,providing you a safe and comfortable nail art experience,It can be reused
Service: If you have any questions about the product, you can consult us, we will reply to you as soon as possible.